

Apple’s Pages never gets the praise it should, but it’s especially unfairly ignored on the iPad where in truth it is an exceptionally easy to use pro writing app.
Whether it’s on the Mac or the iPad, you shouldn’t be using Pages to make notes. That would be like using a Lear Jet to get you to the end of your drive.
Only, if the Mac version hides away its features, the iPad one arguably likes to force you to dig even further for what you need. It’s the same idea of not getting in the way of your writing, but keeping Pages simple while you work by touch sometimes means features are several taps away.
Nonetheless, the iPad version of Pages is a full, complete, and powerful word processor — which is the equal of Pages for the Mac. What’s more, as an individual user, you can unthinkingly work on the same document across the iPad and Mac without difficulty.
And just as with the Mac, you can collaborate with other Pages users — without it mattering whether they are on iPad, Mac, or even iPhone.
Here’s where to find what you need, how to get started in the first place, and just how advanced your Pages for iPad documents can be.
Opening existing documents
In theory, if you really wanted to, you could drag a document to the Pages icon on the iPad. For instance, using Universal Control, you can drag a Mac Pages document over to the iPad, and drop it onto the iPad Pages icon.
That icon will react, it will darken, and Pages will open. But perhaps because I’m having iCloud syncing problems, what happens to me is that Pages starts to open, then stops.
Specifically, it tells me that it can’t open the document because the document doesn’t exist. It’s also, though, changed the name so what it says is not about “Great Novel 2,” but instead about some incomprehensible string of letters.
You’re better off getting the document onto the iPad first, or using the Files app to find it on your iCloud drive.
- Tap to launch the Files app
- Under Locations in the left-hand pane, tap on iCloud Drive
- Find the document you want
- Tap to open it and Pages will launch
For what it’s worth, doing this with that same “file does not exist” document, works perfectly. Also note that this same method lets you open Microsoft Word documents in Pages — assuming you don’t have Word installed.
Unlike with the Mac, you can’t tell an iPad that you always want to open Word documents in Pages. If you have Word, you have to open the document in that, and the use the Share button to send it over to Pages.
That is also how you handle getting any document over to the iPad if you’re not using iCloud drive. You can email yourself a Pages document and then effectively use the same Share feature to send it from the email to Pages.
In practice, Apple saves you a step or two, though. Tap on the attachment in the email within Apple Mail and it previews the document, but also adds an Open in Pages button.
Start writing
In one of the more recent updates to Pages, Apple has also added a kind of get-on-with-it button. It’s called Start Writing, and it’s shown when you open up Pages on the iPad.

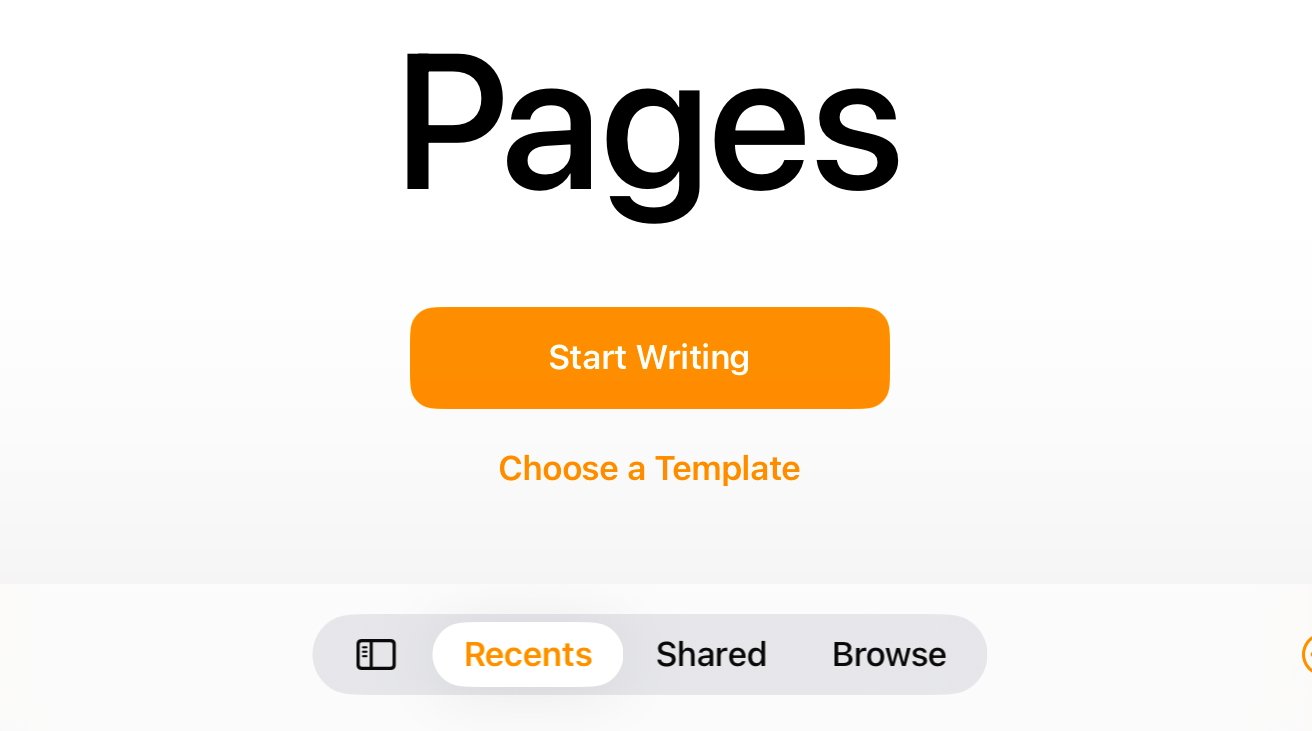
Apple really wants you to be able to get on with your writing immediately
If you tap that, you get a blank document and can just start typing. What you’re really doing, just as on the Mac, is opening a template of a blank document.
And just as on the Mac, Pages for iPad comes with many other templates. Tap the back arrow icon at top left if you’ve gone into a document, and you’re back on the opening screen.
Instead of tapping Start Writing, you can tap Choose a Template. There are just an enormous number of pre-designed documents available to you now, from reports to newsletters to envelopes.
You can choose any of these, but there isn’t a way to say you always want, for instance, the template for a novel. Unlike with the Mac, you cannot specify which template will be used when you just tap Start Writing.
What you can do, though, is create your own template. Once you’ve been working in Pages for a while and have set up a document the way you like, you can save it as a template.
It’s just oddly fiddly. Once you have a document you’d like to save as a template, you have to:
- Tap the Share icon toward the top right
- Find and tap Export and Send in the list that appears
- Tap the bottom option, Pages Template
- On the screen that appears, tap Add to Template Chooser
So despite having to Share the document, you’re not sharing it with anyone. (You can — as well as Add to Template Chooser there is a further Send Template option.)
And despite having to Export it, which usually means changing something’s format, you’re still going to end up with a Pages document. It’s just that this Pages document is now a template.
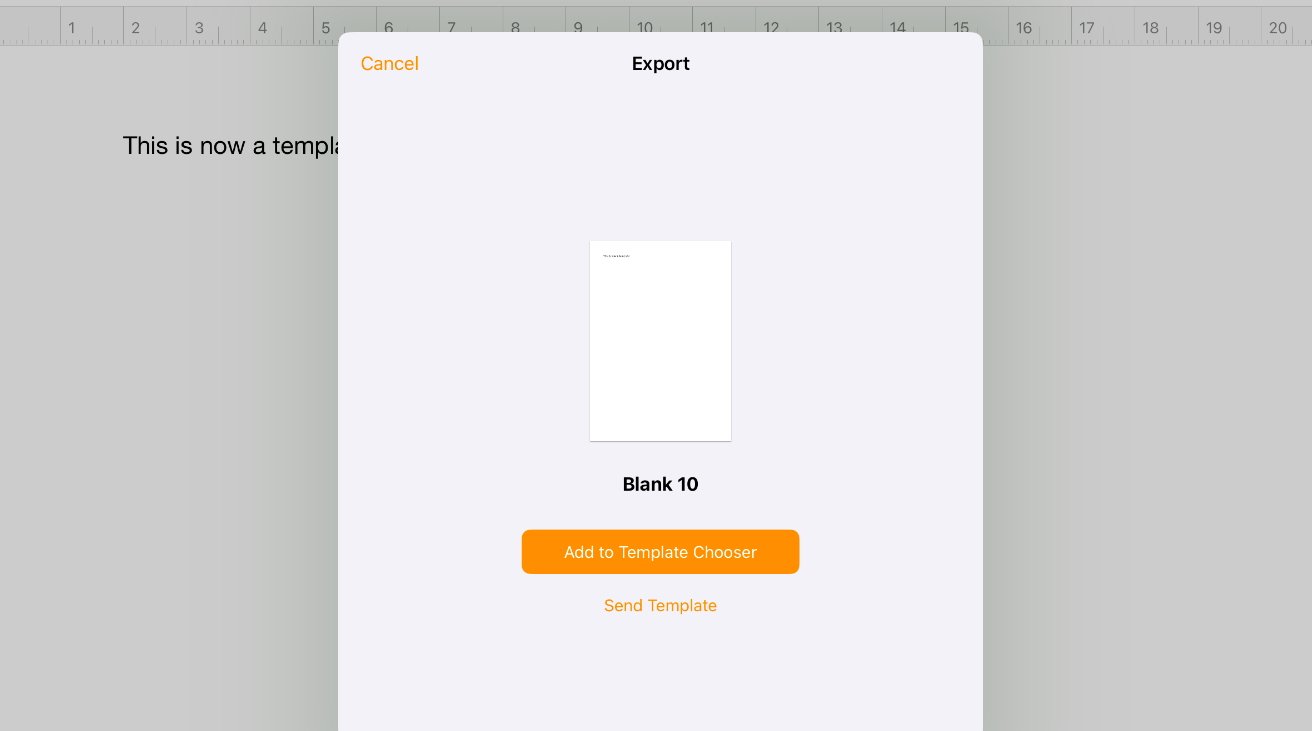
It takes several steps, but you can save any document as your own template
It will appear in the Template Chooser, which again you get to from the front screen of Pages. It will appear in a section called My Templates, and for some reason that’s placed at the very end of the list.
You’re very unlikely to use more than a couple of templates, if you use any at all. And if you do make your own, those are going to be the ones you want the most so it would make more sense for yours to be placed first instead of at the very end of the list.
There is one good thing, though. The very first section you see in the Template Chooser is called Recents, so if you regularly use the same templates, at least those will appear here.
Opening documents from iCloud Drive
You have one more option for opening documents, and it’s how Pages effectively includes a version of Apple’s Files app. From that same Start Writing screen, you can see and find what you need.
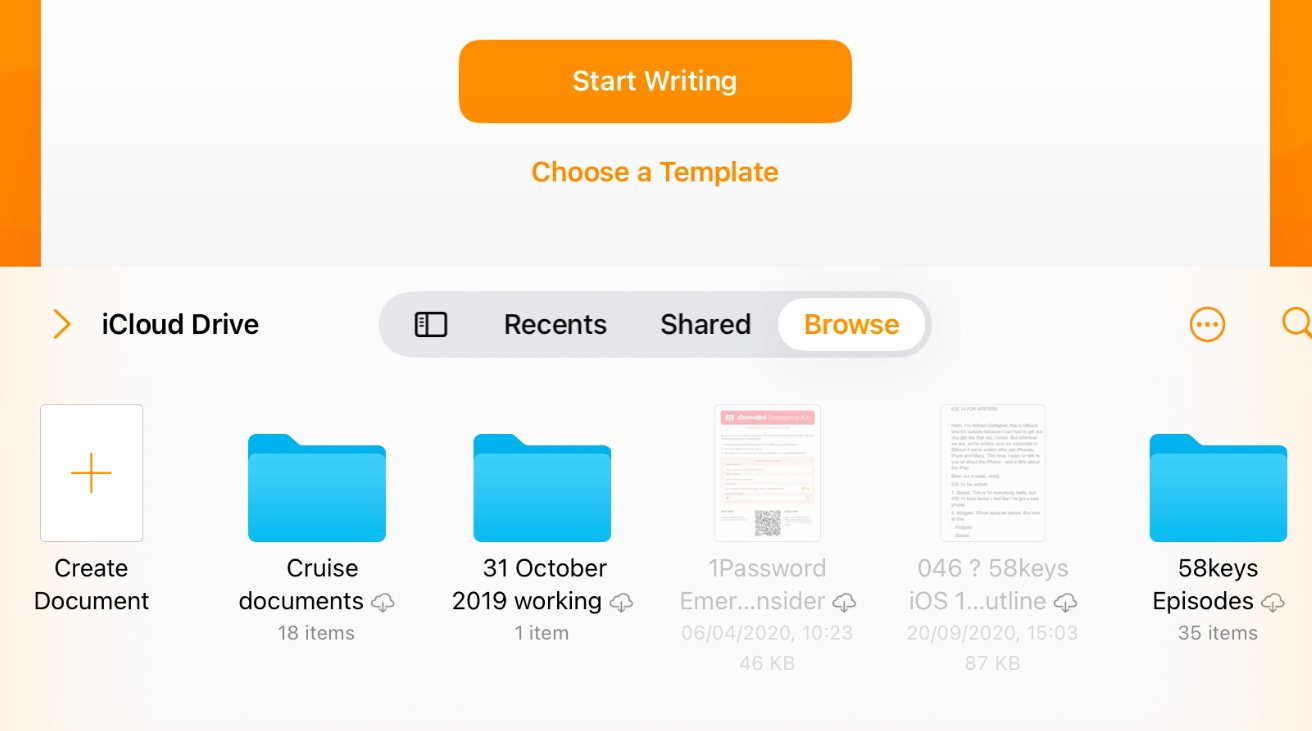
Recents, Shared, and Browse help you find documents, but the icon to their left is the fastest
By default, Pages shows you your recent documents. But there is a pill-shaped control marked Recents, Shared, and Browse.
You know what Recents does, and Shared is similar, but it shows you documents that have been shared with you, or that you are sharing with others. It just shows them to you in order of recent usage.
Browse is where this becomes like the Files app. Tap on that and you get to the whole contents of your iCloud Drive. It’s just not very fast to move around.
Whereas a fourth option on that pill-box shaped control does make things faster. To the left of Recents, Shared, and Browse, there is an icon indicating that a navigation pane is available.
Click that icon and a list pops out from the left. It, too, contains Recents, and Shared, but it also lists Locations. That list always includes your iCloud Drive, but it also always has On My iPad.
If you connect any external drives, those appear here too.
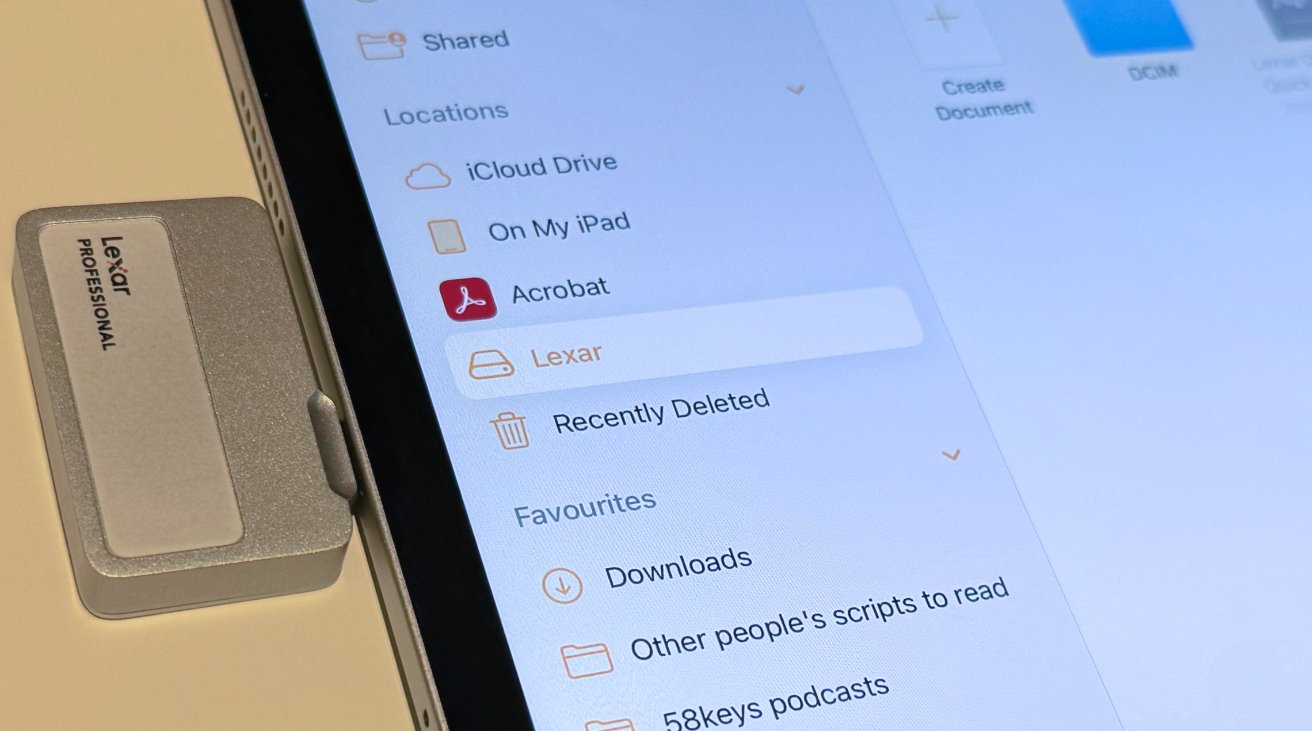
You can open documents directly from an external drive within Pages
All of this means that you can move more rapidly between drives or locations, and then drill down through the folders you find. There’s also an option to then mark a folder as a favorite, and you really should.
If you are going to be coming back to the same folder often, then clicking that icon and schlepping through different locations over and over is a pain. Instead, find the folder once, then right-click or press-and-hold on it, until a pop-up context menu appears.
Choose Favorite from that menu. From now on, any time you click that icon to open the navigation pane, this favorite folder will be there.
You can make as many favorites as you want, and you can also tag folders. If you tag them, you can then scroll down the navigation pane to a list of Tags and tap one to see all the related folders and files.
Keyboards
One difference between Pages on the Mac and on the iPad is that, unless you do something about it, you only have a proper keyboard with the former. The iPad will show you an on-screen keyboard the moment you tap onto a document to start writing.
In practice, that on-screen keyboard is fine. Especially now that iPads are slightly larger than they were originally, the on-screen keyboard is at least close to full size.
It is more than possible to write on the on-screen keyboard, to type directly onto the glass of the iPad. But you will write faster and for longer, you will write more comfortably, with a proper keyboard.

The on-screen keyboard is very good, but you’ll want an external, physical one for long stretches of writing
Apple sells various ones that act as cases as well as keyboards, such as the Magic Keyboard. But any Bluetooth keyboard will do and there are countless of them.
Just think about where you are most often going to write — and how you’ll get there. I have travelled on planes with a full extended Apple keyboard, complete with numeric keypad, but it was only useful when I arrived where I was going, it wasn’t any use on the flight itself.
Finally, getting to write in Pages for iPad
It takes vastly longer to describe Pages for iPad than it does to actually start writing in it — and that’s practically intentional. Apple may not care how long it takes you to describe the app, but it clearly does care how fast it can get you writing.
So despite all of the various options, you can just tap on Start Writing and get going.
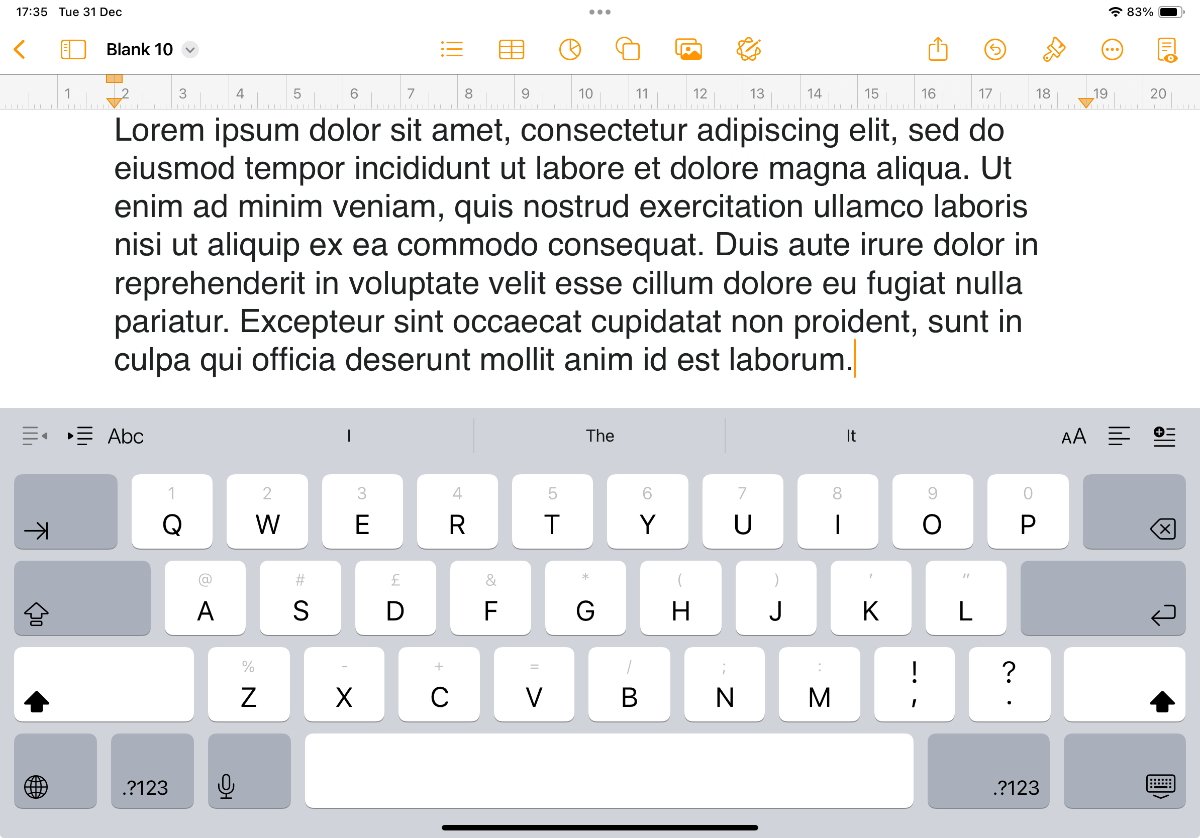
You’re presented with as bare a screen as possible. The giant majority of it is blank, waiting for your writing, but still once you start counting them, it’s surprising how many tools are a single tap away:
- The document title (and drop-down menu including rename)
- A horizontal ruler
- Tab stops
- Table of Contents creator
- Grid creator
- 2D and 3D chart creator
- Shapes
- Photos, including the Camera and now Image Playground
- Audio recording
- Drawing options
- Equation options
- Apple Intelligence Writing Tools
- Share
- Undo/Redo
- Format, including Styles
- Search
- Track Changes
- Mail merge
- Annotations
- Presenter mode
- Bookmarks
- Settings
- Lock and unlock the document for editing
These are all right there in front of you, but done subtly enough that they don’t get in the way. Apple’s absolute determination that nothing gets in your way is admirable, but it also falls down when it makes some common features feel practically hidden.
Hidden features
Depending on what you’re writing, there can seem to be an enormous missing feature in Pages for the iPad — a word count. But as ever with Apple, the feature is right there, you just have to want it enough to go looking.
For instance, you may well want a word count and be surprised that it’s missing. It isn’t.
Click on the icon at top left and you get another navigation pane, which includes the option to Show Word Count.
Given that this has to be all done with touch, that’s not brilliant but it is understandable. What you have to do to get headers and footers, though, is just cruel.

Explain why you get to headers and footers through the rename document menu
On the Mac, you have to know to click in the right spot on the screen and you can begin writing your header. No one tells you where that right spot is, so it’s exasperating enough, but compare it to Pages on the iPad.
To make a header or footer in iPad Pages, you open the document and then:
- Tap on the name of the document at top left
- Choose Document Options
- From the popout menu that appears, choose Document Setup
- Turn on Headers and Footers (which are separate sections)
- Tap on More Options
- On the image of a page that appears, tap where you want your header or footer
In theory, that’s it — but in practice, you’re not done yet because practically invariably, you will want to have a page number in the header, the footer, or both. And for some unfathomable reason, you have two ways to do this, and they both involve tapping at more or less the same place.
Pages shows you three boxes at the top and bottom of its depiction of a page. The boxes correspond to right, center, and left, and any of them can have page numbers.
If you don’t like this way of inserting page numbers, there’s a different one in the same place
Tap and hold on one of these boxes and you get a horizontal pop-up menu that includes Page Numbers, plus Select All, Format, and Writing Tools. Right click on the same box and you get a vertical pop-up menu with Page Numbers, Writing Tools, and a couple of other options that are from that horizontal menu.
Styles
Styles are crucial in word processors, and entirely absent in text editors. They mean you can write a long document where every chapter heading is a certain font and size — and you can then change all of them in an instant.
Chapter headings, subtitles, the book’s title, and the main body text, are all pre-existing Styles in Pages. And all of them can be changed, or you can add new ones as you need.
You use Styles through the Format menu, an icon of a paintbrush toward the top right of the screen. I have hit a bug sometimes where that icon is greyed out until I have written some text in the document, but it’s inconsistent.
And it’s also up to you. You can write your chapter title and then choose to say that it is a Chapter style, or you can set the style before you begin typing.
To set a style first, you:
- Tap the Format icon
- Tap in the box under Paragraph Style
- Choose from the list of Styles displayed
- Tap on the Format icon to dismiss it
If you instead want to write first, then first you write, then you click somewhere in the text and go through the above steps. You only have to have your cursor in the sentence for the Format menu to be able to change all of the text to a new Style.
What it does, though, is change all of the text in the current paragraph or heading. Nothing else in the document is altered. So if you want to change a series of paragraphs, you need to first select them, then do the above steps.
Long documents and cross-referencing
Styles are especially useful in long documents because they mean wholesale changes take moments instead of your having to spend hours going through line by line. But there are other tools that are good for long documents, including footnotes and endnotes.
This is one place, though, where you would wish that Pages for iPad didn’t follow the same steps as the Mac one. That’s because just as on the Mac, you cannot add an endnote without first doing it as a footnote and then converting it.
In Pages for the iPad, you have to first find the insert icon. In the most recent versions of Pages for iPad, if you’re using an external keyboard, then it’s been positioned in the floating toolbar at the bottom of the screen.
When you’re using the on-screen keyboard, you may have to tap on the text to call up the bar. In either case, the icon looks like four lines of text with a plus sign as a kind of hanging indent.
You cannot make an endnote, you have to do a footnote and then convert it
It’s always to the far right of the bar — although the bar generally only appears when your cursor is in the text and the iPad thinks you’re about to type something.
- Tap on that insert icon
- Choose Footnote
- Write your footnote text in the box that appears
- Tap away from that box, then tap to select it
- Tap on the Format icon
- Now tap on the Footnotes section
- Tap on Type and choose either Document Endnotes or Section Endnotes
Unfortunately, Pages for iPad also mimics the Mac version’s failings in footnotes and end notes. It does not correctly continue them at the foot of the next page if there is too much text, for instance.
And in my experience it also formats the text badly. The first paragraph of a long footnote will automatically be in a suitably small font, but the rest will appear the same size and font as the body copy.
Working with other people
Pages is much more successful with what it calls Change Tracking. This is Word’s Track Changes feature, where everything you add or delete — or colleagues do — is shown very clearly in different color text.
Really, it is Word’s feature with the name reversed, it is that close to Microsoft’s version. Very, very nicely, it’s so like the Microsoft Word tracked changes that they are interchangeable.
I had a client who was heavily into tracked changes and I assumed that after my first draft in Pages, I’d have to switch to Word to continue working with her. But instead, Pages just opened her Word files and showed me the changes exactly as they should be.
So I was able to continue writing in the app I preferred, and my client was, too. It did fall to me, though, to be the one to make sure I only ever sent her Word versions, never Pages.
Sharing documents from Pages for iPad
You do that on Pages for the iPad from the Share menu. Tap on Share, then choose Export and Send.
Pages for iPad then presents you with a list of formats it can handle, including Word. Choose that and wait while it creates a Word-formatted document.
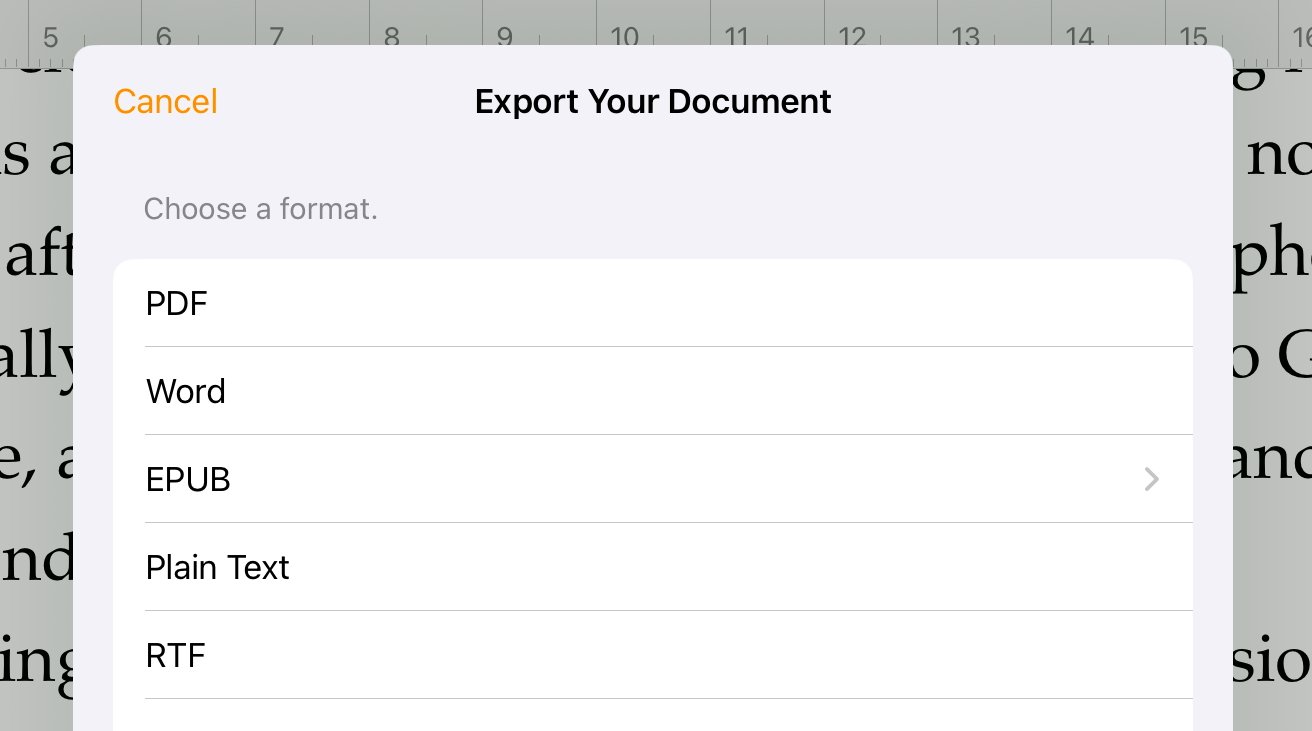
Exporting to Microsoft Word format is straightforward
When it’s ready, you get another Share button and you can choose how to send it to your collaborator.
This combining of sharing and changing the format makes sense, but it doesn’t feel like that if you’re used to the Mac version of Pages. On the Mac, you can do this sharing in a different format, but you can also just save the document in Word format.
Really you’re saving a copy of it, your Pages version is untouched. And you can do the same on the iPad.
It’s just that to save a Word format version of your document on Pages for iPad, you have to go through the same Export and Send, then Share option.
This time, though, instead of choosing how to send the document to someone, you tap to select Save to Files.
It’s all there, you just have to find it
That at least is an option you could stumble across if you were used to the iPad and to Pages. Most of the apparently hidden Pages features are like this, they are discoverable.
It’s the ones that are more arcane that are a problem, like the poor footnote and endnote options, or the Escape Room-style way Apple hides headers and footers.
Yet if you can quarrel with how some of it is done, the ultimate aim is solid. Apple wants you to be writing what you need to write, it does not want you having to scour manuals or search support forums just to get started.